HOW TO RESET A BRAKE LIGHT SWITCH
The Heart of Your Brake Lights: The Brake Light Switch
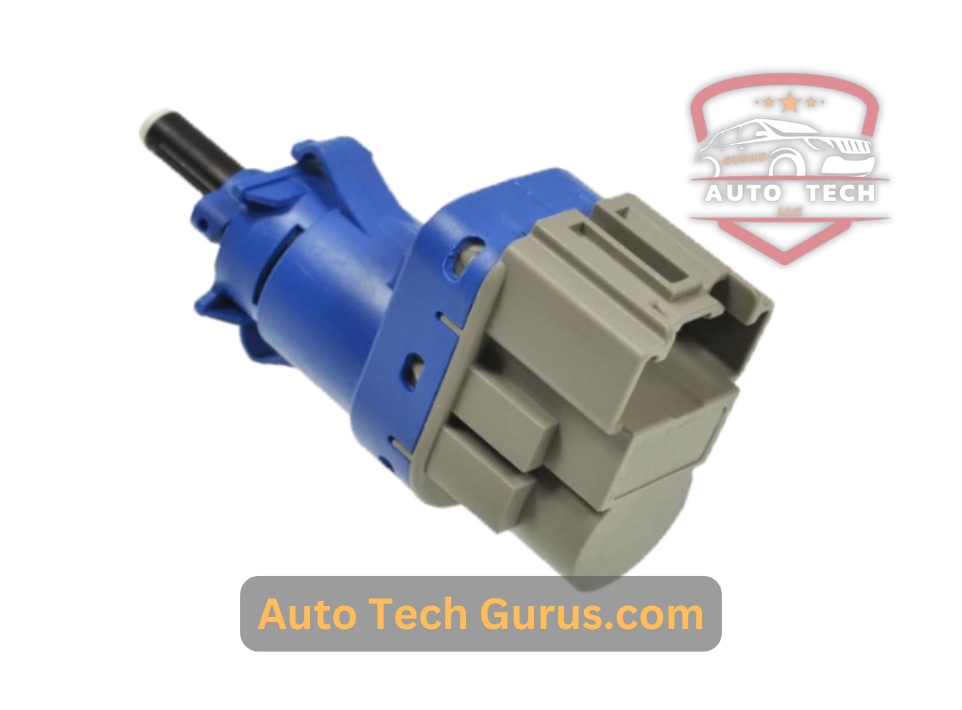
Ever wondered how your car signals to others when you hit the brakes? That’s the magic of your brake light switch. This unassuming little component bridges your brake pedal and brake lights, ensuring they illuminate when needed. A faulty switch can leave you in the dark, creating a dangerous situation on the road.
Warning Signs: Spotting a Failing Brake Light Switch
Your car often gives you subtle hints when something’s amiss. A faulty switch could be the culprit if your brake lights are acting up. Look out for symptoms like brake lights that stay on constantly, refuse to turn on, or illuminate even when you’re not braking. These are clear signs that it’s time for a closer look.
Reset or Replace: Addressing a Malfunctioning Switch
Ignoring a malfunctioning brake light switch is a gamble you can’t afford to take. Resetting or replacing the switch is crucial for maintaining your safety and the safety of others on the road. A quick fix can prevent accidents, avoid traffic violations, and ensure your car communicates effectively with those around you. Remember, a small investment in your brake light switch can pay off in peace of mind and road safety.
Tools and Materials Needed FOR Resetting Brake Light Switch
Essential Tools for the Job
Tackling a brake light switch replacement requires a few basic tools that most DIYers have on hand. You’ll likely need:
- A screwdriver (Phillips or flathead, depending on your car model)
- A wrench or socket set (to loosen and tighten any bolts securing the switch)
- A flashlight or headlamp (to illuminate the often cramped workspace around the brake pedal)
- Safety glasses (to protect your eyes from any debris or accidental contact)
Model-Specific Tools: A Word of Caution
While the tools mentioned above cover most scenarios, some car models may have unique fastening mechanisms or require specialized tools for access. It’s always wise to consult your car’s repair manual or search online for model-specific instructions before starting the job. This ensures you have the right tools and avoids any unexpected surprises during the process.
Step-by-Step Guide for Resetting a Brake Light Switch.
Step 1: Find the Switch—The First Step to Success
The Usual Suspects: Where to Look In most vehicles, the brake light switch is conveniently located under the dashboard, nestled near the top of the brake pedal arm. It’s a small, cylindrical component, usually attached to a bracket or directly to the pedal assembly itself. The typical brake light switch location is under the dashboard.
Model-Specific Quirks: Consult Your Manual While the general location remains consistent across many cars, some models might have slight variations. If you’re having trouble finding the switch, it’s always a good idea to consult your car’s repair manual or search online for model-specific instructions. This will provide precise information on the switch’s location and unique access considerations.
Remember: Safety First!Before you start poking around under the dashboard, make sure your car is parked on a level surface, the engine is off, and the parking brake is engaged. This prevents any accidental movement while you’re working.With the location pinpointed and safety measures in place, you’re ready to move on to the next step!
Step 2: Disconnect the Switch—Breaking the Connection
Safety First: Disconnect the Battery Before you start fiddling with any electrical components, it’s crucial to disconnect both terminals of your car’s battery. This eliminates the chances of electrical shock or short circuits while working.
Locate the Wiring Harness Once the battery is disconnected, identify the wiring harness connected to the brake light switch. It’s usually a small plug with multiple wires leading to it. typical brake light switch wiring harness.
Release the Connector Depending on the design, the connector may have a tab or locking mechanism that needs to be depressed or released before you can unplug it. Gently wiggle the connector while applying slight pressure to disconnect it from the switch.
Careful Handling Avoid pulling on the wires themselves, as this can damage them. Always grip the connector body when disconnecting or reconnecting it. With the switch disconnected, you can remove it from its mounting bracket or the brake pedal assembly.
Step 3: Reset or Replace: A Fresh Start for Your Brake Lights
Resetting the Switch (If Applicable)
Some brake light switches have a reset button. If yours has one, locate it and press it firmly. This may resolve minor glitches and restore proper function. However, if the switch is severely damaged or the problem persists, replacement is the best course of action.
Replacing the Switch
If a replacement is necessary, remove the old switch from its mounting bracket or the brake pedal assembly. This usually involves loosening a bolt or clip that secures it in place. Once removed, install the new switch in the same position and secure it using the same fastening mechanism. Ensure it’s properly aligned and seated before tightening any bolts or clips.
Step 4: Reconnect the Switch—Re-establishing the Link
Reconnect the Wiring Harness
Carefully align the connector on the wiring harness with the corresponding receptacle on the new switch. Gently push the connector, which finally clicks into place, ensuring a secure connection.
Reconnect the Battery
Once the wiring harness is reconnected, it’s time to reattach the negative terminal of your car’s battery. Make sure the connection is secure.
Step 5: Test the Brake Lights—The Moment of Truth
Engage the Brakes
With the battery reconnected, start your car’s engine and press the brake pedal. Observe the brake lights to ensure they illuminate brightly and consistently.
Enlist a Helper
If possible, have someone stand behind your car while you press the brakes. This allows you to confirm that all the brake lights are functioning correctly.
Check for Proper Operation
Test the brake lights multiple times to ensure they respond promptly and turn off completely when you release the brake pedal. If any issues persist, it’s best to consult a qualified mechanic for more diagnosis and repair.
By following these simple steps, you can successfully reset or replace your brake light switch and ensure your car’s safety on the road. Remember, a functional brake light switch is not just a convenience, it’s a crucial component of your vehicle’s safety system.
You May Like To Read: How To Remove Brake Drums When Stuck
Safety First: Protecting Yourself During the Process
Disconnecting the Battery: A Crucial Step
Before you embark on any electrical work, prioritize your safety by disconnecting the negative terminal of your car battery. This simple action prevents accidental electrical shocks and short circuits, ensuring a worry-free experience.
Additional Safety Measures:
- Park on a Level Surface: Ensure your car is parked on a stable, level surface to avoid any unexpected movement while working underneath the dashboard.
- Engage the Parking Brake: Set the parking brake to prevent your car from rolling while you focus on the task.
- Use Proper Lighting: Work in a well-lit area or use a flashlight or headlamp to see the brake light switch and its connections.
- Wear Safety Glasses: Protect your eyes from debris or accidental contact with tools or car parts.
- Consult Your Manual: If you encounter any uncertainties or challenges during the process, don’t hesitate to refer to your car’s repair manual for model-specific guidance.
Remember, prioritizing safety protects you from harm and contributes to a smoother and more successful repair experience.
YOU MAY LIKE: How Do You Reset a Brake Proportioning Valve?
FAQ’S
1.How do I reset my brake light?
Usually, a simple car restart will reset minor glitches that cause the brake light to stay on. If the problem persists, further inspection is needed.
2.How do you troubleshoot a brake light switch?
Check the brake lights. If the switch doesn’t work or is intermittent, it may be faulty. Inspect the switch for damage and, if possible, use a multimeter to test its continuity.
3.What do you do after replacing a brake light switch?
Reconnect the battery, test the brake lights, and ensure the shift lever and cruise control operate as intended.
4.Is there a fuse for the brake light switch?
Yes, there is typically a fuse dedicated to the brake lights. Check your car’s owner’s manual for the exact location and amperage.
Conclusion
The brake light switch may seem insignificant in the grand scheme of your car’s intricate systems. However, as we’ve explored, its role in ensuring your safety and the safety of others on the road cannot be overstated. A functioning brake light switch serves as your car’s voice, communicating your intentions to those around you, preventing accidents, and maintaining a smooth traffic flow.
While replacing a brake light switch is often a manageable DIY task, don’t hesitate to seek professional assistance if you encounter any difficulties or uncertainties. Your safety and proper vehicle functioning should always be the top priorities.
We encourage you to share this article with fellow car enthusiasts. Leave a comment below if you have any questions or experiences. Remember, knowledge shared is knowledge-empowered!